Bioinformatics ♥ *nix
Much of bioinformatics happens on the command line, a text-based system for interacting with files, running commands and writing programs. The command line can feel scary foe newcomers, you are likely used to the Window-Icon-Pointer-Mouse (WIMP) interface of most operating systems (like Windows or MacOS). In WIMP, you use a mouse to move a pointer around the screen, clicking on and interacting with windows and icons as your work. These graphics on the screen are often called Graphical User Interfaces (GUIs). GUIs are convenient and even required for some of the tasks I do day to day in bioinformatics, such as editing figures in Illustrator or creating presentations in PowerPoint, but quickly get in the way of doing larger analyses.
Take for example the below list of steps to take pre-processed next generation sequencing reads from an Illumina sequencer and turn them into a genome assembly (concepts I’ll talk about in later posts) using the open-source bioinformatics GUI, UGENE.
- Tools → DNA assembly → Assemble genomes
- Select SPAdes from the “Assembly method” drop down
- Select “Paired-end” from the “Library” type drop down
- Under “Left reads” click “Add”
- Navigate to folder containing reads
- Select Left reads (R1 usually)
- Under “Right reads” click “Add”
- Navigate to folder containing reads
- Select right reads (R2 usuallly)
- Repeat 4-8 for every sample
- Set “Dataset type” to the appropriate type
- Choose your run mode (Probably “Error correction and Assembly”)
- Select your k-mer sizes (“auto” is probably fine)
- Click “Start”
For one sample this is not too bad, but what about for tens or hundreds of samples? Bioinformatics datasets are increasingly being made up of hundreds to thousands of samples. Clicking through a GUI for this is not scalable. Instead we might use the below Bash oneliner, don’t worry about what those two words mean or that the below is incomprehensible to you at the moment.
for i in reads/*_R1*.fastq.gz; do spades.pi --careful -1 $i -2 ${i/_R1_/_R2_} -o output/$(basename $i | cut -f1 -d_) -t 6; done
The Bash oneliner (really a for-loop written on one line) can process all of the paired reads without user intervention. Hopefully, this example illustrates why the command line is a powerful tool. If not, I’ll keep trying to convince you as we continue through this series. See the next post, “Bash basics” to get started with Bash, or the rest of the “Introductory Bioinformatics” posts to see what else we will cover.
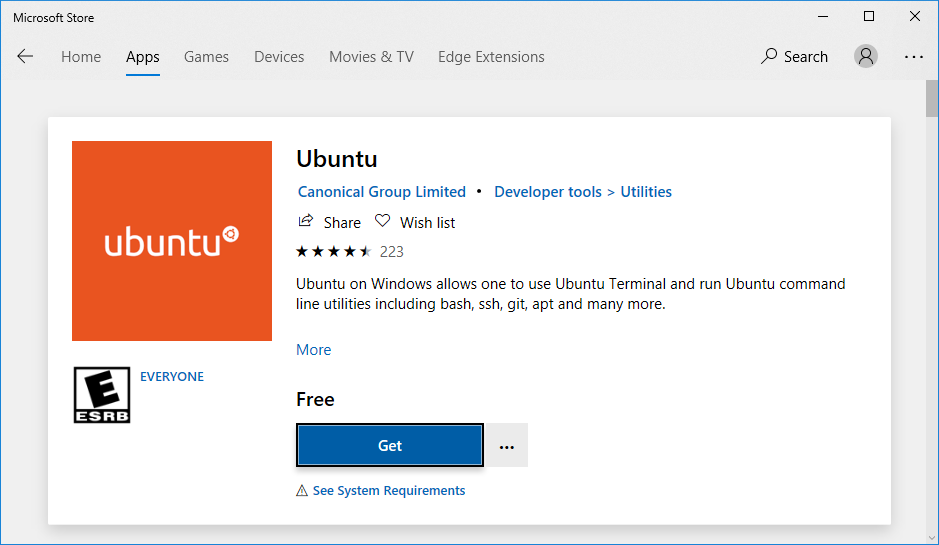
Those of you on MacOS, just open your Terminal.app from Spotlight (also found found in /Applications/Utilities/Terminal.app). For those of you on Windows (hopefully, Windows 10), please install the Windows Subsystem for Linux from the Microsoft App Store, which provides a pretty good Linux environment straight in Windows running Ubuntu. For those interested in a more fully fledged Linux system, consider installing VirtualBox and then creating an Ubuntu VM. For the rest of this series, I’ll use a bash prompt on WSL. A word of warning for MacOS users: MacOS is a different version (or flavor) of *nix, as such some commands work slightly differently. I will try to point out there differences occur and how to work around them.
